


How to Install Transparent LED Films on Windows: A Comprehensive Guide
In the world of digital advertising and modern architecture, few innovations are as visually striking as transparent LED films. These remarkable displays transform any glass surface—from storefronts to office partitions—into a dynamic, high-resolution screen without obstructing the view. They offer a futuristic way to engage audiences, display information, and enhance brand presence. However, the magic lies in the application. A flawless installation is critical to achieving that seamless, professional look and ensuring the technology's longevity.
This comprehensive guide provides a step-by-step walkthrough of the installation process, grounded in industry best practices. Whether you're a skilled DIY enthusiast or a business owner looking to understand the process, this article will equip you with the knowledge needed for a successful installation of transparent LED films.
Understanding Transparent LED Films: The Technology Behind the Magic
Before diving into the installation, it's essential to understand what you're working with. Transparent LED films are not just simple stickers; they are sophisticated pieces of technology. These self-adhesive films contain micro-LEDs embedded in a transparent conductive polymer grid. When powered, the LEDs illuminate to create images and videos, while the unlit portions of the film remain almost completely see-through.
Key Specifications to Consider:
- Pixel Pitch: This is the distance between the centers of adjacent pixels (LEDs). A smaller pixel pitch results in higher resolution and a sharper image, ideal for close-up viewing.
- Transparency Rate: Typically ranging from 65% to 95%, this measures how much light can pass through the film. A higher rate means better visibility through the glass when the display is off.
- Brightness: Measured in nits, brightness determines the display's visibility, especially in daylight. For south-facing windows or bright environments, a higher nit rating (5000+ nits) is crucial.
- Size and Flexibility: Films come in various sizes and can often be cut to fit specific dimensions. Their flexibility allows for application on curved glass surfaces as well.
Pre-Installation Checklist: Planning for a Flawless Application
Proper preparation is 90% of the job. Rushing this stage is the most common cause of installation failures. A meticulous approach here will save you time, money, and frustration.
Site Assessment and Measurement
First, evaluate the intended location. Is the window structurally sound? Does it receive direct, intense sunlight for most of the day? While many LED films are built to withstand UV rays, extreme heat can affect adhesion and electronics over time. Ensure the location is suitable for the specific product you've chosen.
Next, measure with precision. Use a quality laser measure or tape measure to get the exact height and width of the glass surface. Measure in at least three different places for both height and width to account for any inconsistencies in the window frame. Double-check your numbers. Remember the old carpenter's adage: "Measure twice, cut once."
Tools and Materials You'll Need
Gathering all your tools beforehand ensures a smooth, uninterrupted workflow. Here’s a typical checklist:
- The LED Film Kit: Transparent LED Film, Power Supply Unit (PSU), and Controller/Media Player.
- Cleaning Supplies: Isopropyl alcohol (70% solution), distilled water, residue-free glass cleaner, lint-free microfiber cloths, and a squeegee for cleaning.
- Application Tools: A felt-edged application squeegee, a precision utility knife with extra blades, a measuring tape, and a laser level.
- Safety and Electrical Tools: Safety glasses, a voltage tester or multimeter, electrical tape, and wire strippers.
- Marking Tools: A non-permanent marker or painter's tape for alignment guides.
Preparing the Glass Surface
The single most critical step for adhesion is surface preparation. The glass must be impeccably clean, free from any dust, grease, oils, or chemical residues. Any contaminant left on the surface will create bubbles or cause the film to peel prematurely.
- Initial Clean: Start by cleaning the window with a standard glass cleaner to remove loose dirt and grime.
- Deep Clean: Mix a solution of 70% isopropyl alcohol and 30% distilled water. Spray this solution generously on the glass and use a clean microfiber cloth to wipe it down thoroughly. The alcohol acts as a degreaser and evaporates without leaving a residue.
- Final Wipe: Use a fresh, dry microfiber cloth to wipe the surface completely dry. Inspect the glass from different angles to ensure there are no streaks or specks of dust left. The surface should be squeaky clean.
The Step-by-Step Installation Process
With your surface prepped and tools ready, it's time for the main event. This process requires patience and a steady hand. If possible, have a second person to help, especially with larger films.
Step 1: Unpacking and Inspecting the LED Film
Handle the film with extreme care to avoid creases or damage to the embedded electronics. Unroll it on a clean, flat surface. Before you even think about applying it, perform a pre-installation power test. Connect the film to its power supply and controller to ensure all LEDs are working correctly. It is far easier to deal with a faulty product before it's adhered to a window.
Step 2: Positioning and Alignment
Using your measurements and a laser level, mark the intended position of the film on the window with painter's tape or a non-permanent marker. This step is crucial for ensuring the final display is perfectly straight and centered. You can create a top and side boundary with tape to guide your application.
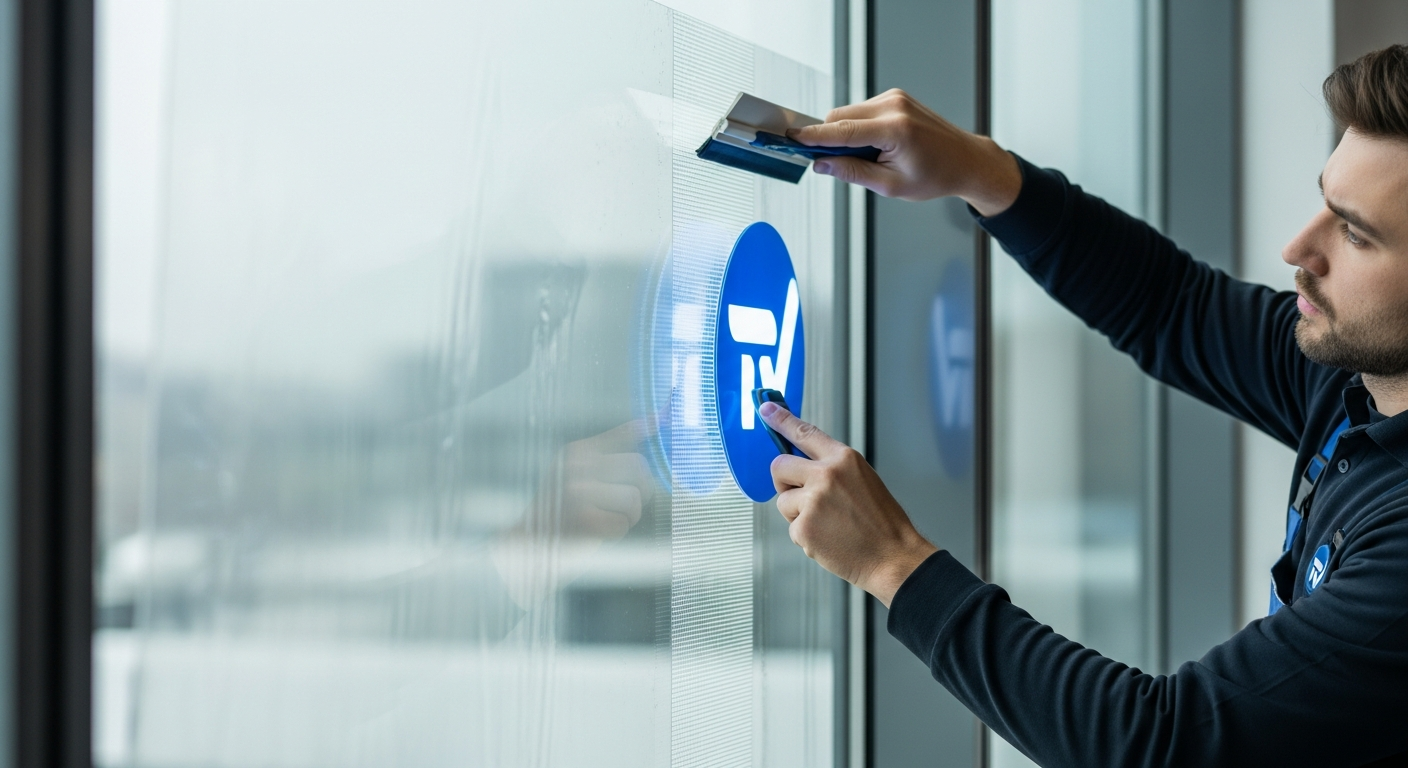
Step 3: Applying the LED Film (Wet Application Method)
The wet application method is highly recommended for most LED films as it allows for minor repositioning and makes it easier to squeegee out bubbles.
- Create Application Solution: In a spray bottle, mix a few drops of baby shampoo or application fluid with distilled water. This solution acts as a lubricant, preventing the adhesive from sticking instantly.
- Spray the Surface: Lightly mist the entire glass surface with the application solution. The surface should be wet but not dripping.
- Peel the Backing: Carefully peel back a few inches of the film's adhesive liner from the top edge. Avoid touching the adhesive with your fingers, as oils can compromise the bond.
- Align and Apply: Align the exposed top edge of the film with your tape guides. Press it gently against the glass. The solution will allow you to slide it slightly for perfect alignment.
- Squeegee Systematically: Once the top is in place, continue peeling the liner down while simultaneously using the felt-edged squeegee to smooth the film onto the glass. Work from the center outwards, using firm, overlapping strokes. This pushes the application fluid and any air bubbles to the edges. Take your time with this process to ensure a bubble-free finish.
Step 4: Trimming and Finishing
Once the entire film is applied, there may be some excess material around the edges. Use a new, sharp blade in your utility knife and a straight edge to carefully trim the excess. A sharp blade is essential to avoid tearing or snagging the film. Once trimmed, do a final pass with the squeegee around the edges to ensure a secure seal.
Step 5: Electrical Connections and Wiring
Safety First: If you are not experienced with electrical wiring, this is the point to hire a licensed electrician. Incorrect wiring is a fire hazard and can damage the equipment.
- Connect to Power: Route the film's integrated flat cable to the designated location for the Power Supply Unit (PSU). The PSU converts standard AC voltage to the low DC voltage required by the film.
- Connect to Controller: The controller (or media player) is the brain of the operation. It connects to the film and the PSU. This unit receives the content data (via Wi-Fi, Ethernet, or USB) and tells the LEDs what to display.
- Cable Management: The final step is to create a clean, professional look by managing the cables. Use conduits, raceways, or hide wires within the window frame or ceiling to keep them out of sight.
Post-Installation: Powering Up and Configuration
The physical work is done, but the setup isn't complete yet.
The First Power-On
With everything connected, it's time to power on the system. The display should light up. Carefully inspect the entire surface for any non-functioning pixels or sections. If you encounter issues, consult the manufacturer's troubleshooting guide or contact their support.
Configuring Your Display
Every transparent LED film comes with control software. Install this software on a computer or mobile device. This will allow you to:
- Upload Content: Add videos, images, and text files to be displayed.
- Create Playlists: Schedule different content to play at specific times of the day.
- Adjust Settings: Control brightness, contrast, and other visual parameters.
- Run Diagnostics: Many systems include tools to help diagnose and troubleshoot issues.
Common Installation Mistakes and How to Avoid Them
- Improper Surface Cleaning: The most common error. Any dust or oil will result in visible imperfections and potential peeling. Be meticulous.
- Rushing the Application: Trying to apply the film too quickly leads to creases and trapped air bubbles that are difficult to remove.
- Skipping the Pre-Installation Test: Discovering a dead-on-arrival unit after it’s fully installed is a time-consuming and costly mistake.
- Dull Trimming Blade: Using a dull knife will tear the film instead of cutting it cleanly, resulting in a ragged, unprofessional edge.
- Incorrect Wiring: This is a serious safety and operational risk. When in doubt, always consult a professional.
When to Call a Professional
While a DIY installation is possible for smaller, straightforward projects, professional installation is highly recommended for:
- Large-Scale Projects: Covering entire building facades or multiple large windows requires a team and specialized equipment.
- Complex Surfaces: Curved glass or windows with significant obstructions require expert techniques.
- Commercial Environments: In a business setting, a perfect, warrantied installation is paramount. Professional installers, like the team at Digital film marketing, have the experience to handle complex wiring, ensure optimal performance, and provide ongoing support.
Conclusion: A Window to the Future
Installing transparent LED films is a transformative project that can elevate any space. It combines careful, precise craftsmanship with advanced technology. By following a structured process—from meticulous planning and preparation to patient application and safe electrical work—you can achieve a stunning, professional result. This technology is more than just a screen; it's a new medium for communication and design, and with a successful installation, you unlock its full, spectacular potential.
Ready to bring your glass surfaces to life? Contact Digital film marketing today for expert advice, premium products, and professional installation services that guarantee a flawless result.